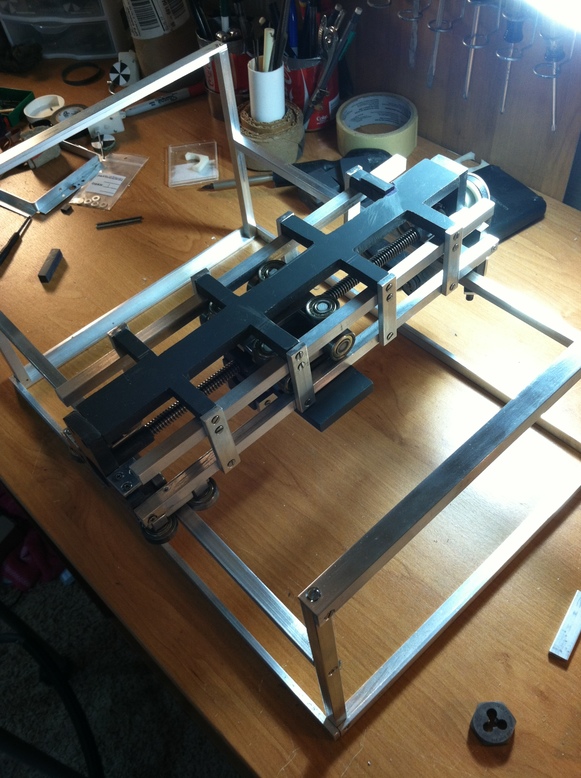
Pick and Place Machine
I started this project with essentially no mechanical background. I was interested in learning about basic electronics, and I had been thinking about implementing my own version of the wii remote. But, when I started looking for parts to use for prototyping, I was very disappointed to learn that through hole parts for certain types of components can be very hard to come by. I didn't know what a bga was at the time, and I ordered a tight pitch bga accellerometer from digikey, and was very confused and dissapointed when I got it. How was I going to solder wires onto that? After talking to some electrical engineers at work, I learned a little about modern circuit board design and circuit board manufactuing. At the time, I was developing some computer vision algorithms for my day job, and I was getting a little itchy for something more out of my career. I had been thinking about starting my own business, but I wasn't sure what I wanted to do (nor did I really know anything about business). A day or so after learning about pick and place machines and their use in circuit board manufacturing, a lightbulb went off. This would be the perfect application of my computer vision knowledge. It didn't matter to me that I knew nothing about mechanical or electrical design aside from what I had heard people mention in meetings. I was just anxious to learn, and it all seemed very exciting. At this point, I also had very little exposure to this new maker movement thing. At that time MakerBot had just really started getting off the ground. They had just moved into their warehouse space in Manhattan, and were starting to make money. When I told a friend of mine about my idea for the pick and place machine, he immediately told me about MakerBot. When I saw their budding success, it was over. I didn't stop thinking about my new venture for months. I was going to be the one who could bring a $1500 pick and place machine to market.
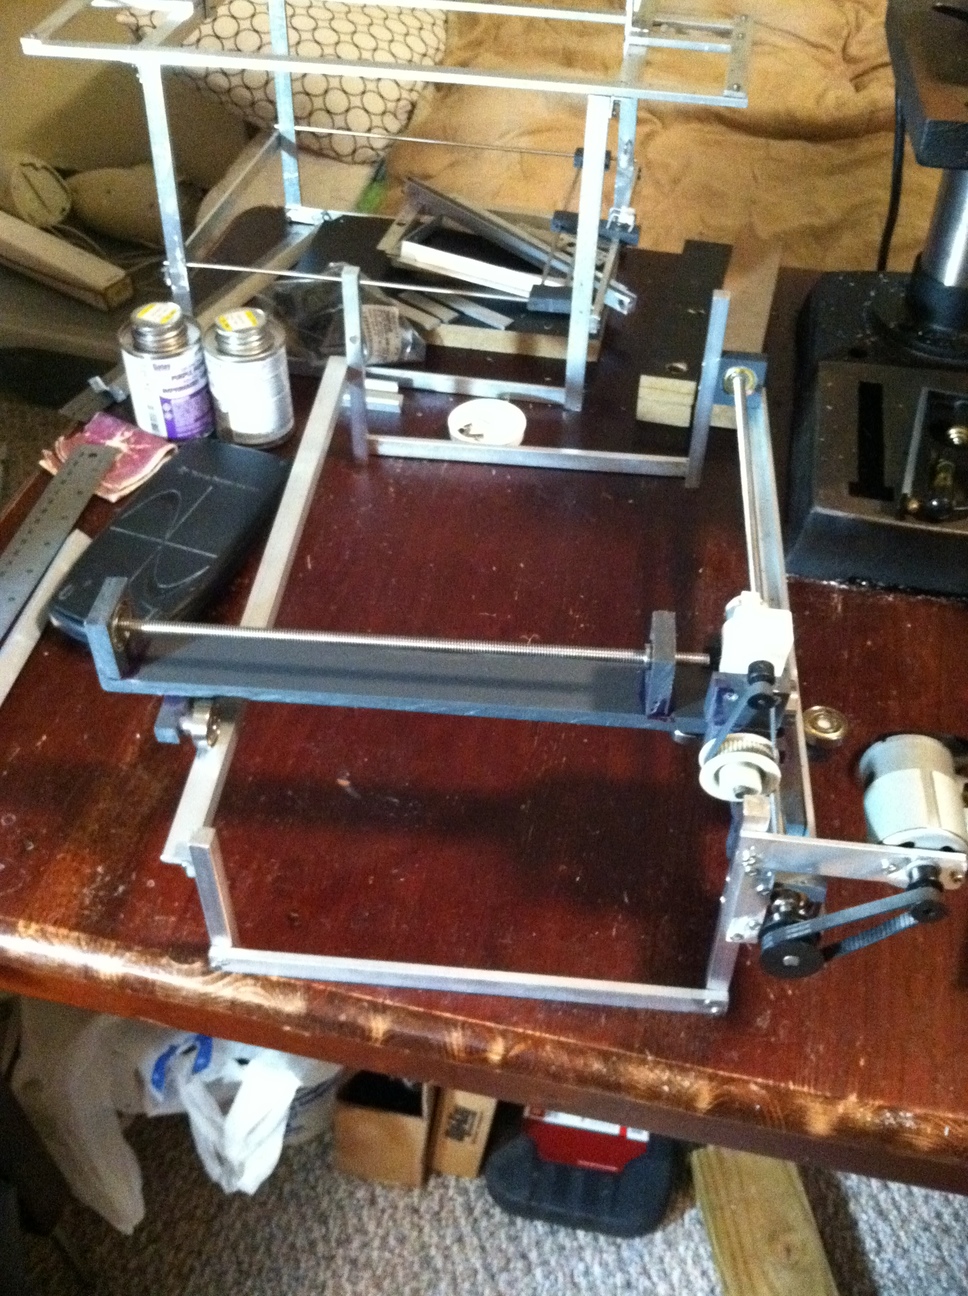
My first try at a frame. I had no idea that aluminum of that strength would be so bendy! I was just exciting about learning to use my new drill press and learning to tap holes. Without knowing anything, I was convinced that a two-stage movement was required to balance speed and precision. The idea was, the first threaded rod would provide the coarse movement to get the head in approximately the correct place, then a second finer-pitched thread would use a real-time vision system to make the final adjustment.
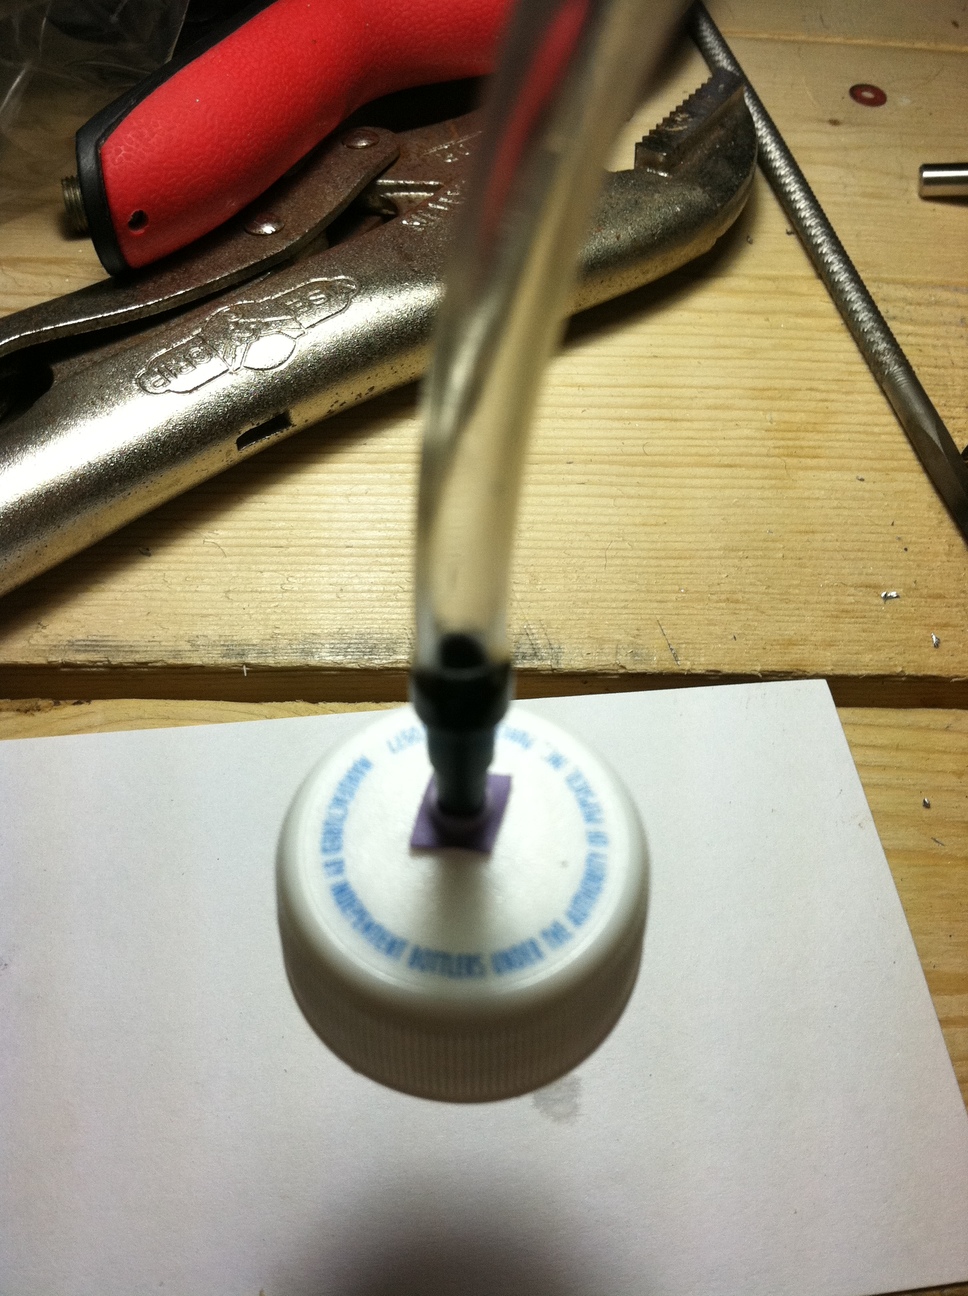
I ordered a small diaphram pump, and was excited to see that I could lift a plastic lid!
I fabricated some interchangable heads to pick up different sized parts. Here is a video demonstrating the capability of the pump / head system.
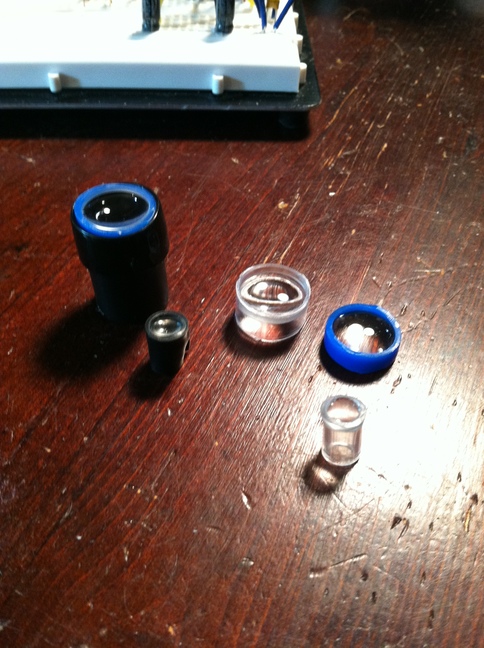
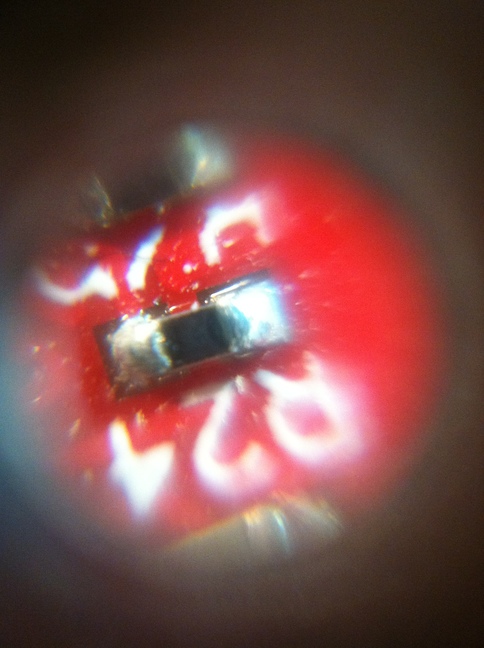
Gearing up to perform some microscopy. I was in the planning stages of building a custom optical solution for my machine vision system, and Ipicked up some lens samples.
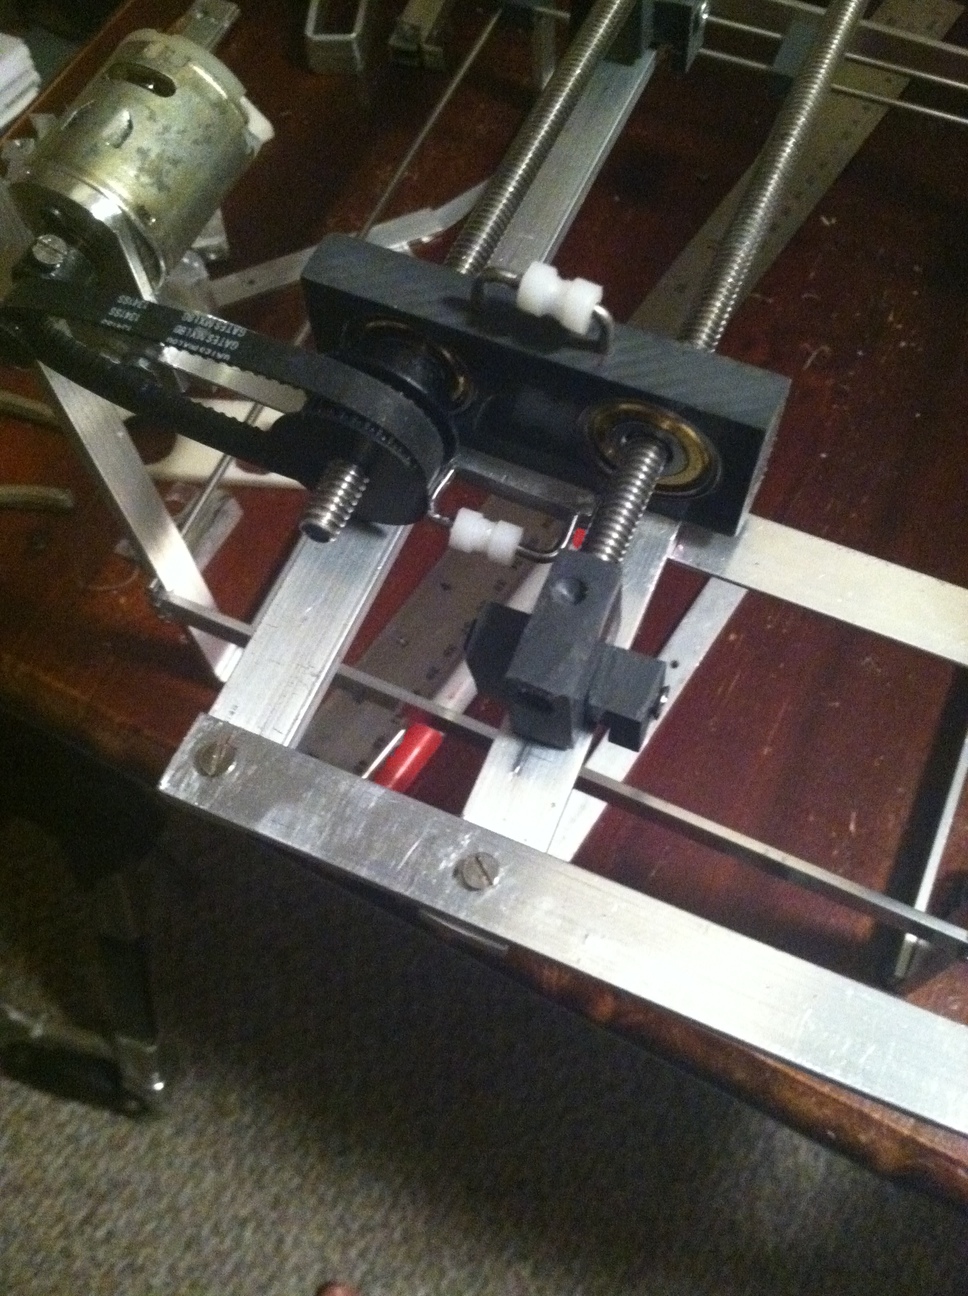
My first try at a motor mount to drive my threaded rod. Yes, notice the national threads. I thought for sure that would be the big cost saver for my system. Also notice the pvc block sitting on top of the aluminum bars. The idead there was a cable would attach to that block, then be rigged through a complicated pulley system to move the x axis. Yes, I do like to learn the hard way. Thanks for asking. At this point, I still had no idea how I was going to design the y or z axes.
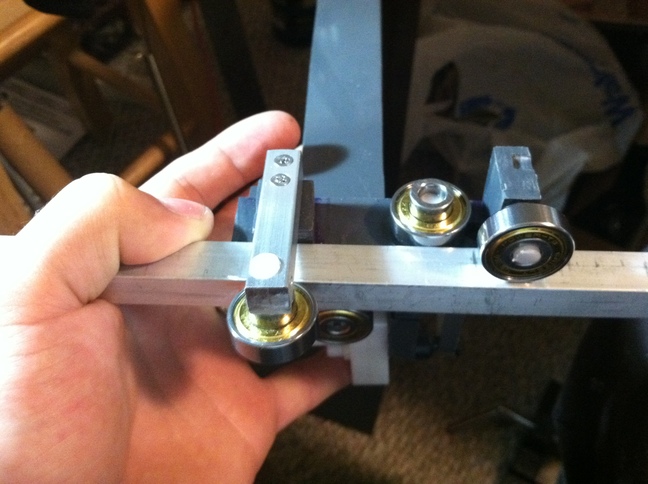
After realizing that I was crazy for thinking about the xy motion the way I had been, I started designing a new movement system from scratch. I was under the impression from some tests I did earlier, that it would be too difficult to get the rails lined up perfectly to use linear bearings or bushings. Plus, I didn't like the play that you get with the cheap linear recirculating bearings. It worked pretty well, but I wished I had a way to tighten the bearings onto the rail.
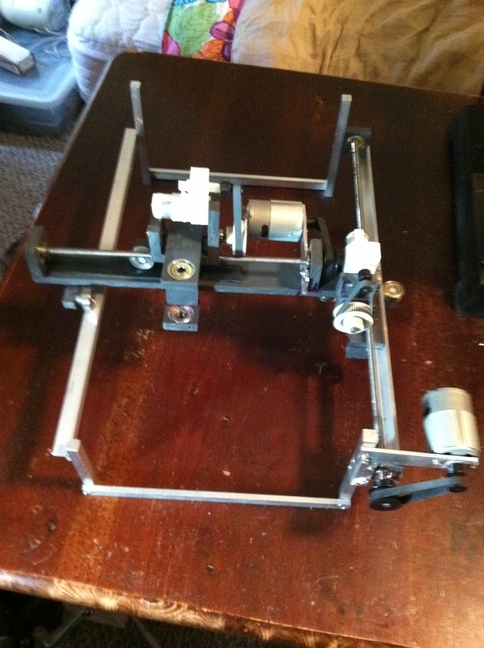
Here is my second attempt at the designing the frame. Still a long way to go, but I learned a lot. There was lots of slop in the movement, and torquing in the frame.
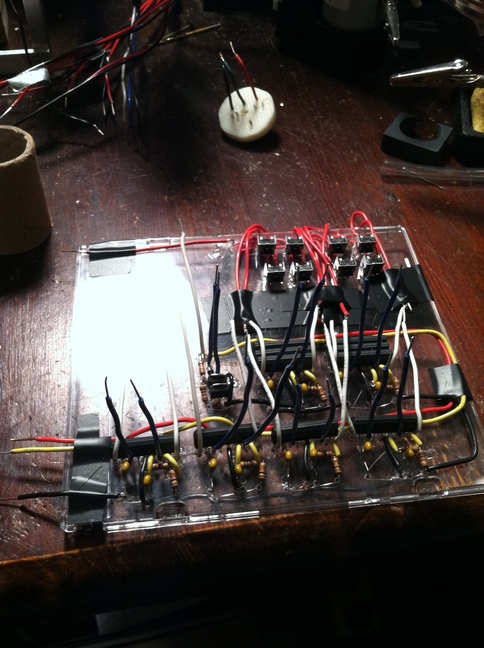
In more of my stubborn fashion of learning things the hard way, I found some through hole motor controller ICs and ordered a bunch of them. They couldn't handle quite enough current to drive my DC motors, so instead of finding new ones, I went ahead with the ones that I had, driving several in parallel, for the dc motors that required extra current. Don't ask why i drilled holes in a sheet of plastic to mount the ICs...
At this point I needed a break. I had gotten as much as I was going to out of my current setup. It was time to start from scratch again.